- New
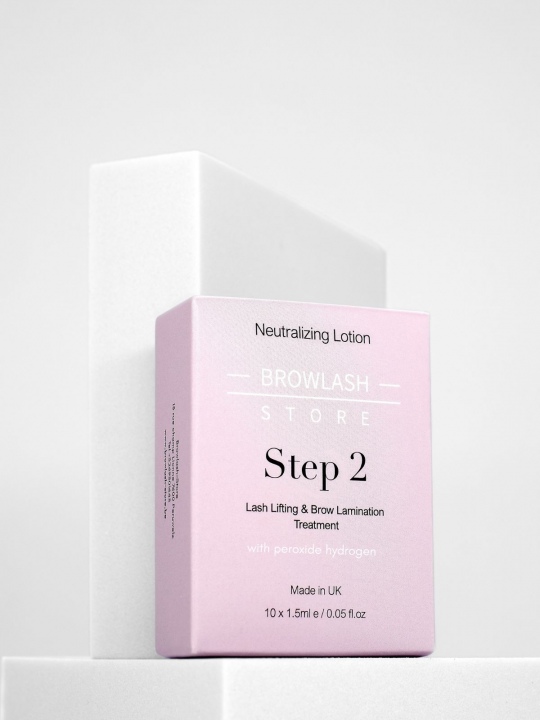
Step 2 with Peroxide - Neutralizing Lotion
Neutralizing Lotion is the second essential step in the process of laminating lashes and eyebrows. This lotion closes the hair scales and neutralises the effects of the first step, guaranteeing long-lasting, impeccable results.
This Step 2 contains hydrogen peroxide, which means it can be mixed with our hybrid tints to achieve lash lamination and colouring in a single treatment.
Characteristics and use
- Neutralising lotion: Closes hair scales and stabilises the treatment.
- Crucial step: Ensures long-lasting results after the first laminating step.
- Precise application: Apply a small amount of Neutralizing Lotion from the root to the centre of the lashes using a micro-applicator.
Application time
- Very fine, fine or tinted lashes: 5 minutes
- Healthy to thick natural lashes: 6 minutes
Once the application time has elapsed, remove the lotion using a clean micro-applicator.
Format and storage
Step 2 is sold in mini-doses (10 x 1.5 ml). One dose of Neutralizing Lotion is the amount needed for one treatment, so you can work cleanly and effectively every time you use it.
- Re-use: The 1.5 ml dose can be used several times. To preserve the product, gently pierce the sachet with a pointed comb. If any product remains, it can be used within 72 hours, provided the sachet is properly resealed.
Additional information
- Best before date: See sachets.
Application with Hybrid Dyes
To save time and achieve professional results, you can mix our Browlash-Store liquid hybrid dyes in a 1:1 ratio. This mixture guarantees a quick and effective application, while offering rich and long-lasting colours.
Advantages of Lash and Brow Lamination
Lamination is an innovative technique that improves the appearance of eyelashes and eyebrows by making them thicker, curlier and better defined.
- For Lashes: Curls and lengthens hairs, giving a fuller, more elegant appearance.
- For Eyebrows: straightens and sets hairs in the desired direction, giving a fuller, groomed look.
Why choose Lamination?
Lamination restructures and revitalises your lashes and eyebrows, providing a deep treatment that strengthens and beautifies your hairs for a natural, sophisticated look.
Gently massage the sachet before opening. The treatment time varies according to the type of eyelash/brow.
- Determine the hair type.
- Make the customer comfortable for the treatment.
- Protect the client's hair with a headband. You can also offer her a blanket to protect her clothes and she may feel cold during the treatment.
- Disinfect your hands.
- Remove all traces of make-up using our Lash Foam and rinse with saline solution.
- Comb the lashes using a mascara brush
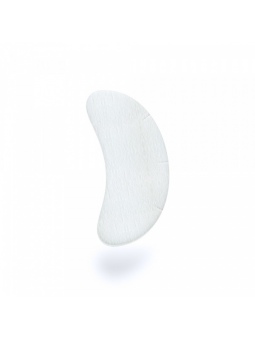
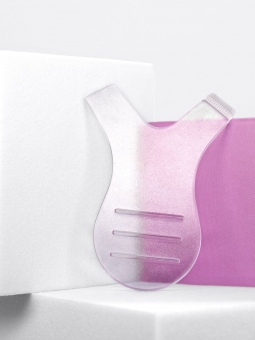
- Place the silicone form under each eye, making sure the lower lashes are securely underneath.
- Choose a silicone form suitable for your customer and cut it to fit perfectly if necessary.
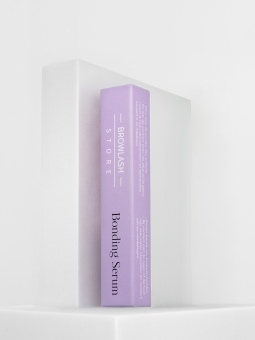
- Apply the Bonding Serum from Browlash-Store to the back of your silicone and place it correctly on the eyelid, near the roots, and hold for 20 seconds.
- Apply the Bonding Serum to the silicone in small sections. Use a Y-comb or spiked separator to lift the lashes from the root and attach them to the silicone. Gradually work your way along the silicone until all lashes are attached.
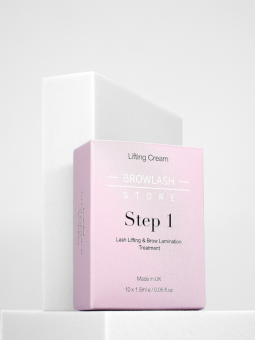
- Step 1 - Apply a small amount of Lifting Cream up to the middle of the lashes, adjusting the pause time according to the thickness of the lashes: for very fine to fine lashes, allow 4 to 5 minutes; for normal, healthy lashes, allow 5 to 6 minutes; and for thick, healthy lashes, allow 6 to 8 minutes.
- Step 2 - Using a micro-applicator, apply a small amount of Neutralizing Lotion from the roots to the centre of the lashes, adjusting the pause time according to the thickness of the lashes: for very fine to fine lashes, allow 5 minutes; for normal, healthy lashes, allow 6 minutes.
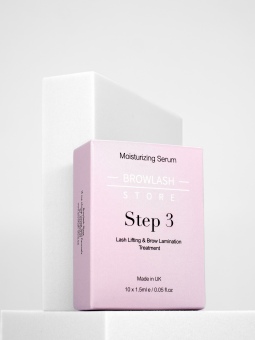
- Step 3 - Apply Moisturizing Serum to the lashes using a micro-applicator. This step will free the lashes from silicon, and the serum cleanses and moisturises deep down after the treatment.
- Apply Moisturizing Serum to the eyelid to gently lift off the Silicon Form. Use a cotton pad to remove excess serum.
- Brush lashes upwards with a mascara brush.
- Explain the after care treatments to your customers.
For the Brow Lift
- Step 1 - The application time should be a maximum of 7 minutes, depending on the hair type.
- Step 2 - Depending on your Step 1 application time, you should leave one minute less.
Step 1 - Apply a small amount of Lifting Cream from the root to the centre of the lashes using a micro-applicator.
Application time:
Fine or tinted lashes: 5/6 minutes
Healthy natural lashes: 6/8 minutes
Healthy thick lashes: 8/10 minutes
Remove using a clean micro-applicator
Step 2 - Apply a small amount of Neutralizing Lotion from the root to the centre of the lashes using a micro-applicator.
Application time :
Fine or tinted lashes: 5 minutes
Healthy natural lashes: 6 minutes
Remove using a clean micro-applicator
Option - If you wish, you can mix our dyes (Hybrid Liquid Dye from Browlash-Store) in a 2:1 ratio.
Step 3 - Apply Moisturizing Serum to lashes using a clean micro-applicator. Gently release the silicone from the lashes and apply serum to the eyelid. Remove excess liquid with a cotton pad. (You can give your customer the rest of Step 3 so that she can maintain her treatment at home. She'll appreciate the thoughtful gesture!)
The Steps are sold in mini-dose form (10 x 1.5ml). One dose is the quantity needed for one treatment, so this format means you can work cleanly and effectively during each treatment.
The single-dose sachets contain a generous amount of product, so you can use one sachet for up to three treatments. That's why we recommend opening the sachet carefully, making a hole that can be easily resealed and kept for a week after opening.
Best before date: see sachets
