3

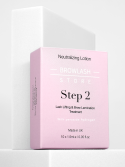

Offer your clients a premium lamination service with the Step 2 Neutralizing Lotion. Its hydrogen peroxide formula, free from sodium bromate and compliant with European regulations, perfectly fixes the hairs while respecting their natural structure.
Designed for demanding professionals, this lotion ensures effective neutralisation after Step 1 and is suitable for both lash lifts and brow lifts. With its creamy, easy-to-apply texture and compatibility with our Hybrid Liquid Dye, you’ll achieve a lifted and tinted result in just one treatment, with long-lasting hold.
Choose Step 2 for safety, efficiency, and peace of mind, and enhance every look with precision!
Professional neutralizing lotion for lash and brow lamination.
Closes the hair cuticles and stabilizes the treatment for long-lasting and flawless results.
Creamy texture for smooth and controlled application.
Application: Use a micro-applicator to apply a small amount of product from the root to the middle of the lash or brow.
Very fine, fine, or tinted lashes: 5 minutes
Healthy natural to thick lashes: 6 minutes
After the processing time, remove with a clean micro-applicator.
Packaging: 10 individual doses of 1.5 ml.
One dose is perfect for clean and efficient application.
Reusable within 72 hours after opening if the sachet is properly sealed (carefully pierce the sachet with a pointed comb for precision).
Expiration date: See indication on the sachets.
Mix with our Browlash-Store hybrid dyes (ratio 1:1) to combine lamination and tinting in one treatment.
Enhances the final result with rich and intense colors.
For lashes: Lifts and lengthens for a voluminous and elegant effect.
For brows: Lifts and sets the hairs for a full and polished look.
Why choose lamination?
Lamination restructures and revitalizes the hairs for a natural, neat, and sophisticated appearance, while strengthening the hair fiber.
Stable and safe formula, free from sodium bromate.
Complies with European regulations, respectful of the skin and hair fiber.
Work with peace of mind using a product designed for professionals.
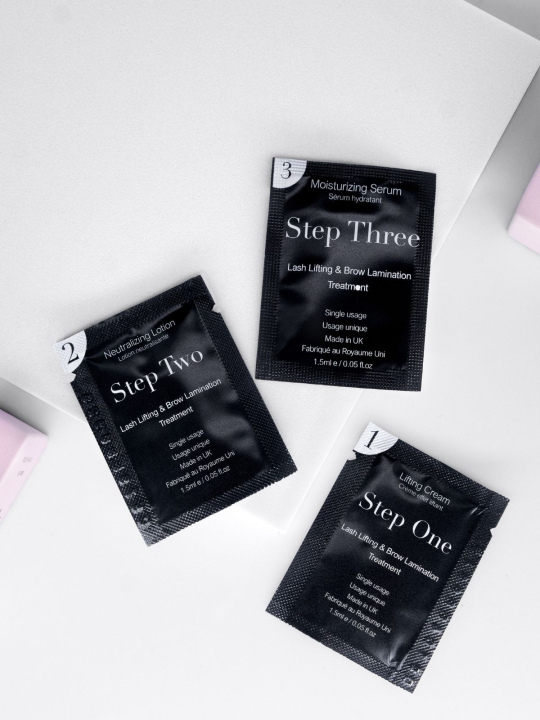
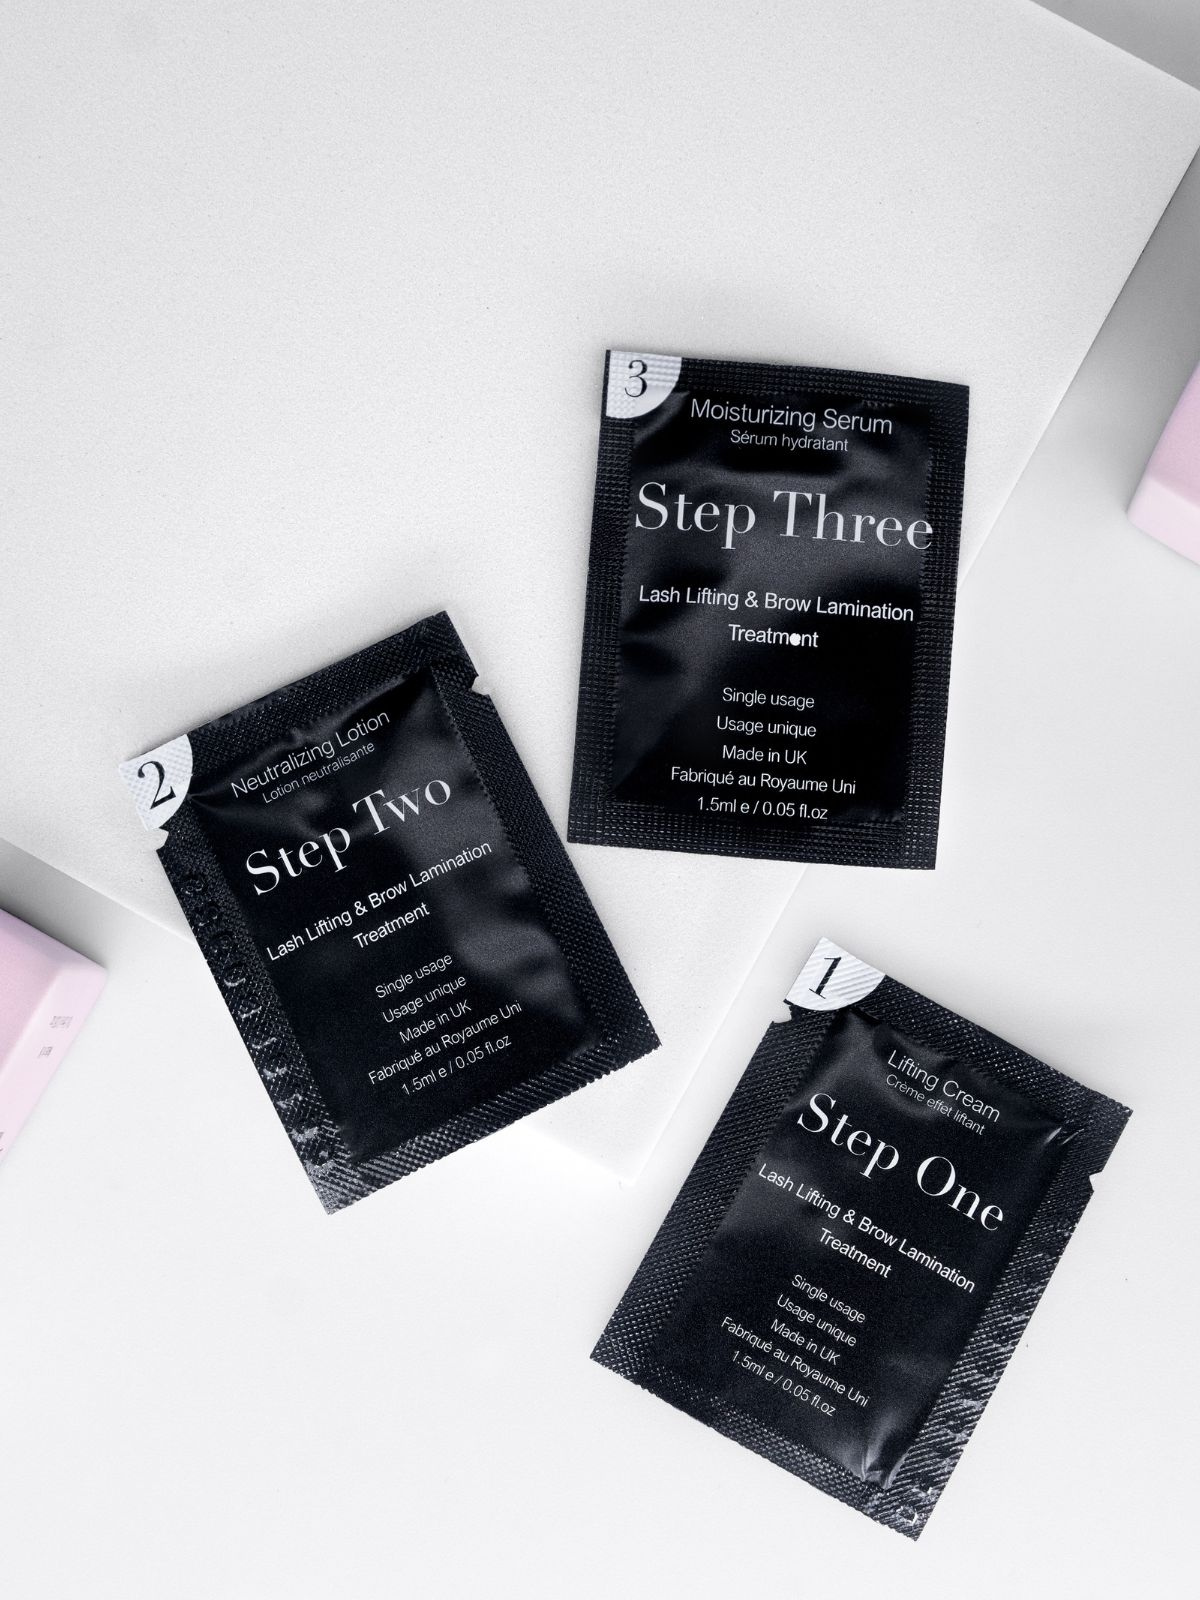
Step 1 – Apply a small amount of Lifting Cream from the root to the middle of the lashes using a micro applicator.
Processing time:
Thin or tinted lashes: 5/6 minutes
Healthy natural lashes: 6/8 minutes
Thick healthy lashes: 8/10 minutes
Remove using a clean micro applicator
Step 2 – Apply a small amount of Neutralizing Lotion from the root to the middle of the lashes using a micro applicator.
Processing time:
Thin or tinted lashes: 5 minutes
Healthy natural lashes: 6 minutes
Remove using a clean micro applicator
Option – If desired, you can mix our dyes (Hybrid Liquid Dye from Browlash-Store) in a 1:1 ratio.
Step 3 – Apply the Moisturizing Serum to the lashes using a clean micro applicator. Gently release the lashes from the silicone shield and apply serum to the eyelid. Remove excess liquid with a cotton pad. (You can offer the remaining Step 3 to your client so she can maintain the treatment at home. She’ll appreciate the thoughtful gesture!)
The steps are sold as mini doses (10 x 1.5ml). One dose is the ideal amount for a single treatment, making this format clean and efficient to use for each service.
The monodoses contain a generous amount of product; you can perform up to three treatments with one sachet. That’s why we recommend opening it carefully by piercing a small hole that you can easily reseal. The product can be stored for one week after opening.
Expiration date: See sachets
Masseer het zakje voorzichtig voor het openen. De inwerktijd van de behandeling varieert naargelang het type wimpers/wenkbrauwen van de klant.

![]()
Bienvenue sur notre site Browlash-Store.be
Pour votre première commande, bénéficiez d'une réduction de 10%
avec le code "bienvenue-brow-10"
A très bientôt